How To Print On Dark Fabric Using Dark Fabric Transfer Paper - Dye Sublimation Supplies


Description
How To Print On Dark Fabric Using Dark Fabric Transfer Paper - Dye Sublimation Supplies
www.dyesublimationsupplies.co.uk
You can find all of the products in this video in the links below:
http://www.dyesublimationsupplies.co.uk/consumables/fabric-transfer-paper
http://www.dyesublimationsupplies.co.uk/heat-presses-t-shirt-presses/the-maxx-hotronix-heat-press-machines/maxx-clam-press-40x50cm
We get asked quite a lot about using dye sublimation printing to print onto black, dark fabrics or cotton t-shirts and unfortunately the answer is no. Because sublimation ink is actually transparent if you put it onto a dark fabric colour the sublimation ink colour won’t be strong enough to come through. With cotton fabrics there is not polymer for the sublimation ink to adhere to so ideally you’re looking at using polyester fabrics for sublimation or a poly/cotton blend that is majority polyester. You can also sublimate onto some nylon fabrics.
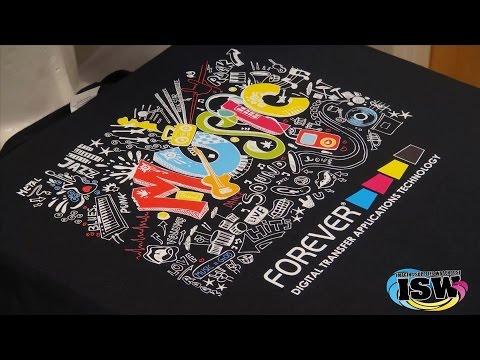
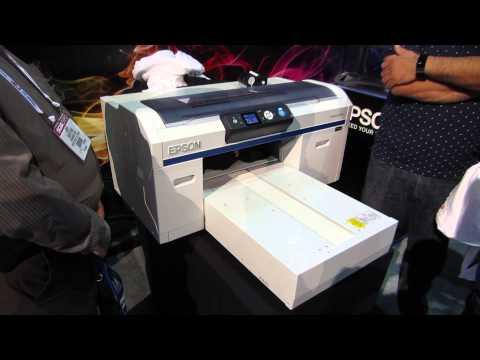
We have got a product, the Reiver Media Dark Fabric Transfer Paper, which can be used to transfer onto dark fabrics using normal inkjet printing or dye sublimation printing, for example using a Ricoh Printer with SubliJet-R inks. You can cut the image out either by hand with scissors or by using a cutter such as the Silhouette Cameo cutters.
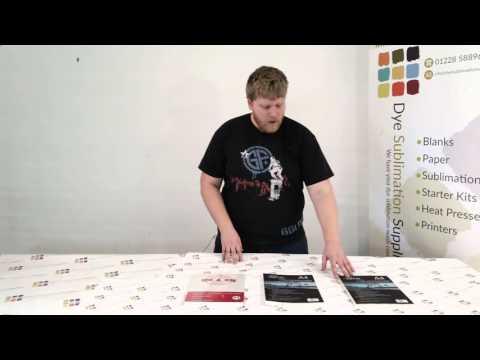
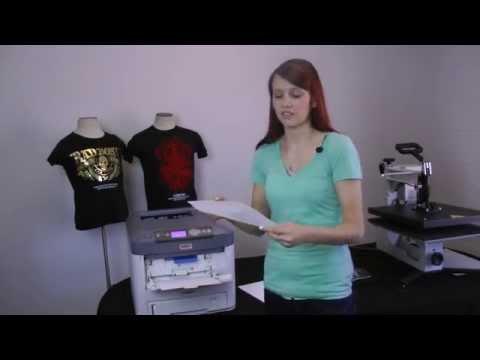
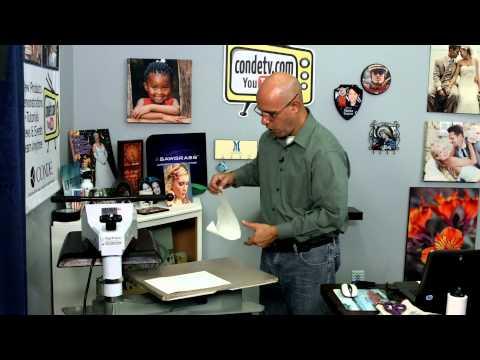
Adam is demonstrating the Reiver Media Dark Transfer Paper using a black t-shirt and an image printed onto the transfer paper using Ricoh OEM inks, printed through a Ricoh SG7100DN printer. He is going to be pressing the image onto the t-shirt using our MAXX press by Stahls.
The first step is to pre-press a clean t-shirt to ensure as much moisture as possible is removed from the garment, you don’t want any steam etc getting in the way of the transfer as it may cause the transfer to press incorrectly.
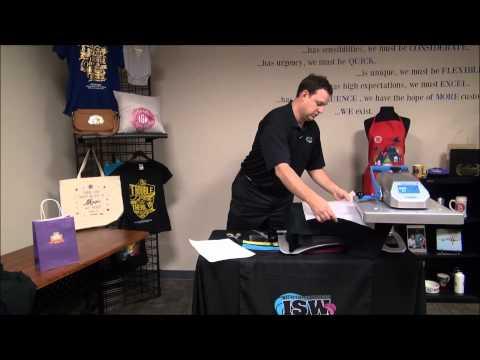
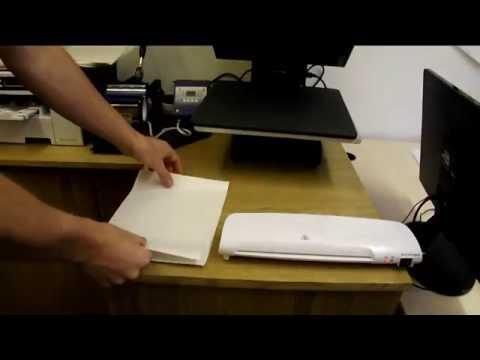
You then print out your design and cut it out. Then, there are two parts to the transfer paper so you will need to remove the backing from the transfer from the image. The transfer itself is pretty durable but if you have an image with bits sticking out, such as the fish cartoon design Adam is using in this video, you will have to be careful so as not to damage the transfer. Also, don’t forget that you do not need to mirror the image when printing the transfer.
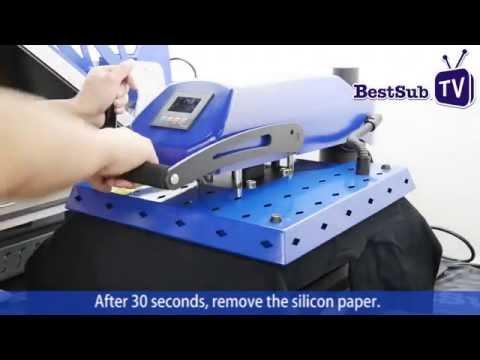
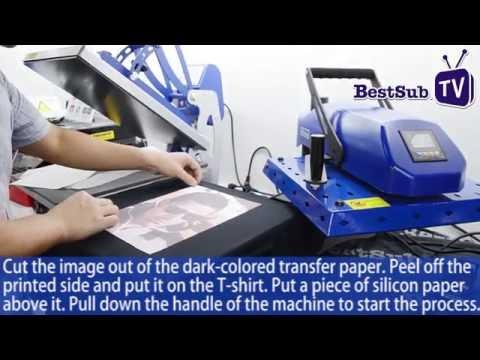
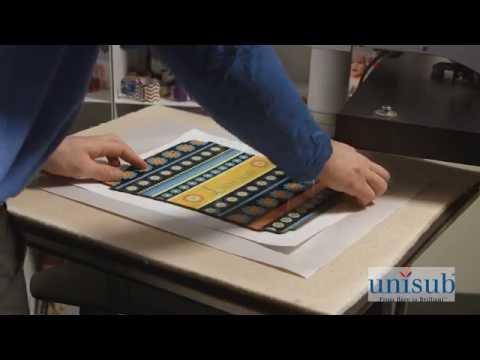
Once you have removed the transfer from the backing paper, position your transfer on the t-shirt, which will already be in the heat-press after you pre-heated it. Cover the t-shirt and transfer with a protective sheet of Teflon, to protect the t-shirt and the transfer from direct contact with the heat; the Teflon will also act as release paper.
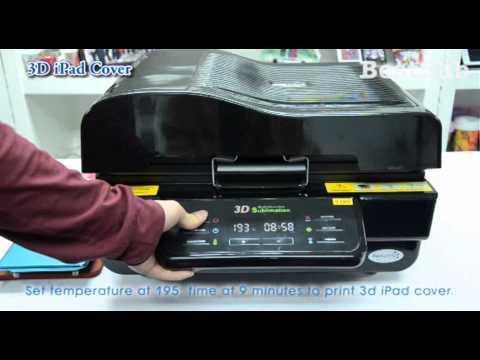
The press is set at 195°C and we’ll press the transfer for 25 seconds. The pressure is set to heavy.
Once the press has completed, open the platen and remove the t-shirt from the press. CAUTION: it may be hot, please remove using heat proof gloves or by areas that were not in direct contact with the heat platen.